RestApi 만들기 - 각종 문서 조각 생성하기(6)
- 개발/restAPI😢
- 2021. 2. 24. 23:27

오랜만에 작성하는것 같다.
아무튼 다시 작성하게 되어서 기쁘다.!
restAPI docs를 만들기 위해서는
<dependency>
   <groupId>org.springframework.restdocs</groupId>
   <artifactId>spring-restdocs-mockmvc</artifactId>
   <scope>test</scope>
</dependency>
이 의존성을 추가해줘야 한다.
RestApi 만들기 - spring-rest-docs (5)
자 드디어 rest-docs를 적용할때가 왔다. Spring REST Docs Document RESTful services by combining hand-written documentation with auto-generated snippets produced with Spring MVC Test. docs.spring.io..
b-programmer.tistory.com
이글에서 spring-rest-docs를 만드는것을 실습했다.
이번에는 spring-rest-docs에서 제공되지 않은 문서 조각을 생성해보려고 한다.
초기 문서 조각들
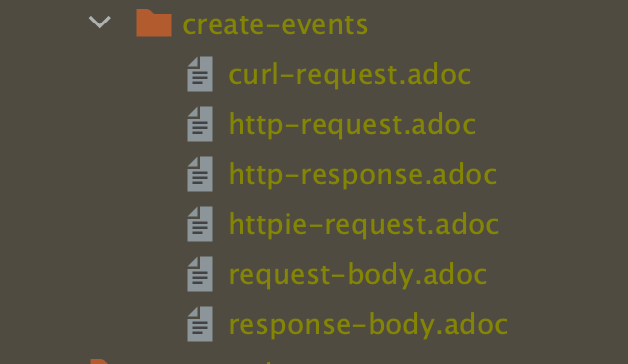
내가 만들 문서 조각들은 다음과 같다.
requestHeaders(),
requestFields(),
responseHeaders(),
responseFields()
일단 해보자.(이거 말고 많다.)
requestHeaders는
요청 header를 작성해주면 된다.
그 내용은 테스트를 돌려보면 되는데,
다음과 같다.
MockHttpServletRequest:
      HTTP Method = POST
      Request URI = /api/delivery/
       Parameters = {}
          Headers = [Content-Type:"application/json;charset=UTF-8", Accept:"application/hal+json", Content-Length:"137"]
             Body = {"item":"book","user":"klom","deliveryTime":"2021-02-24T22:39:40.333417","deliveryEndTime":"2021-03-06T22:39:40.333437","itemPrice":null}
Session Attrs = {}
(이건 작성한 사람마다 다를 겁니다.)
여기서 header에 무엇이 들었는지 확인합니다.
Content-Type, Accpet, Content-Length 필기!
headerWithName(HttpHeaders.CONTENT_TYPE).description("ContentType is application"),
headerWithName(HttpHeaders.ACCEPT).description("Accept is application/hal+json"),
headerWithName(HttpHeaders.CONTENT_LENGTH).description("137")
나는 이렇게 작성했다. 내용은 자유롭게 작성하면 된다.
요청 문서 조각은 이렇게 작성했다.
requestHeaders(
       headerWithName(HttpHeaders.CONTENT_TYPE).description("ContentType is application"),
       headerWithName(HttpHeaders.ACCEPT).description("Accept is application/hal+json"),
       headerWithName(HttpHeaders.CONTENT_LENGTH).description("137")),
requestFields(fieldWithPath("item").description("what is your item"),
       fieldWithPath("user").description("how is made"),
       fieldWithPath("deliveryTime").description("start time"),
       fieldWithPath("deliveryEndTime").description("end time"),
       fieldWithPath("itemPrice").description("item price is"))
이제 응답도 작성하기 위해 위와 같은 방식으로 작성하자.
MockHttpServletResponse:
           Status = 201
    Error message = null
          Headers = [Location:"http://localhost:8080/api/delivery/1", Content-Type:"application/hal+json"]
     Content type = application/hal+json
             Body = {"id":1,"item":"book","user":"klom","deliveryTime":"2021-02-24T22:39:40.333417","deliveryEndTime":"2021-03-06T22:39:40.333437","status":"READY","itemPrice":null,"deliveryCost":5000,"_links":{"query-events":{"href":"http://localhost:8080/api/delivery"},"update-events":{"href":"http://localhost:8080/api/delivery/1"},"self":{"href":"http://localhost:8080/api/delivery/1"}}}
    Forwarded URL = null
   Redirected URL = http://localhost:8080/api/delivery/1
          Cookies = []
요청과 똑같이 작성하면 된다.
responseHeaders(headerWithName(HttpHeaders.LOCATION).description("Location!"),
              headerWithName(HttpHeaders.CONTENT_TYPE).description("Content-Type is application/hal+json")),
responseFields(fieldWithPath("id").description("this item id"),
               fieldWithPath("item").description("what is your item"),
               fieldWithPath("user").description("what your name"),
               fieldWithPath("deliveryTime").description("start time"),
               fieldWithPath("deliveryEndTime").description("end time"),
               fieldWithPath("status").description("current status"),
               fieldWithPath("itemPrice").description("item price is "),
               fieldWithPath("deliveryCost").description("delivery cost")))
이렇게 실행하면 될까?
돌려보자.
어디서 잘못된것일까?
나는 분명 다 작성했... 어라..
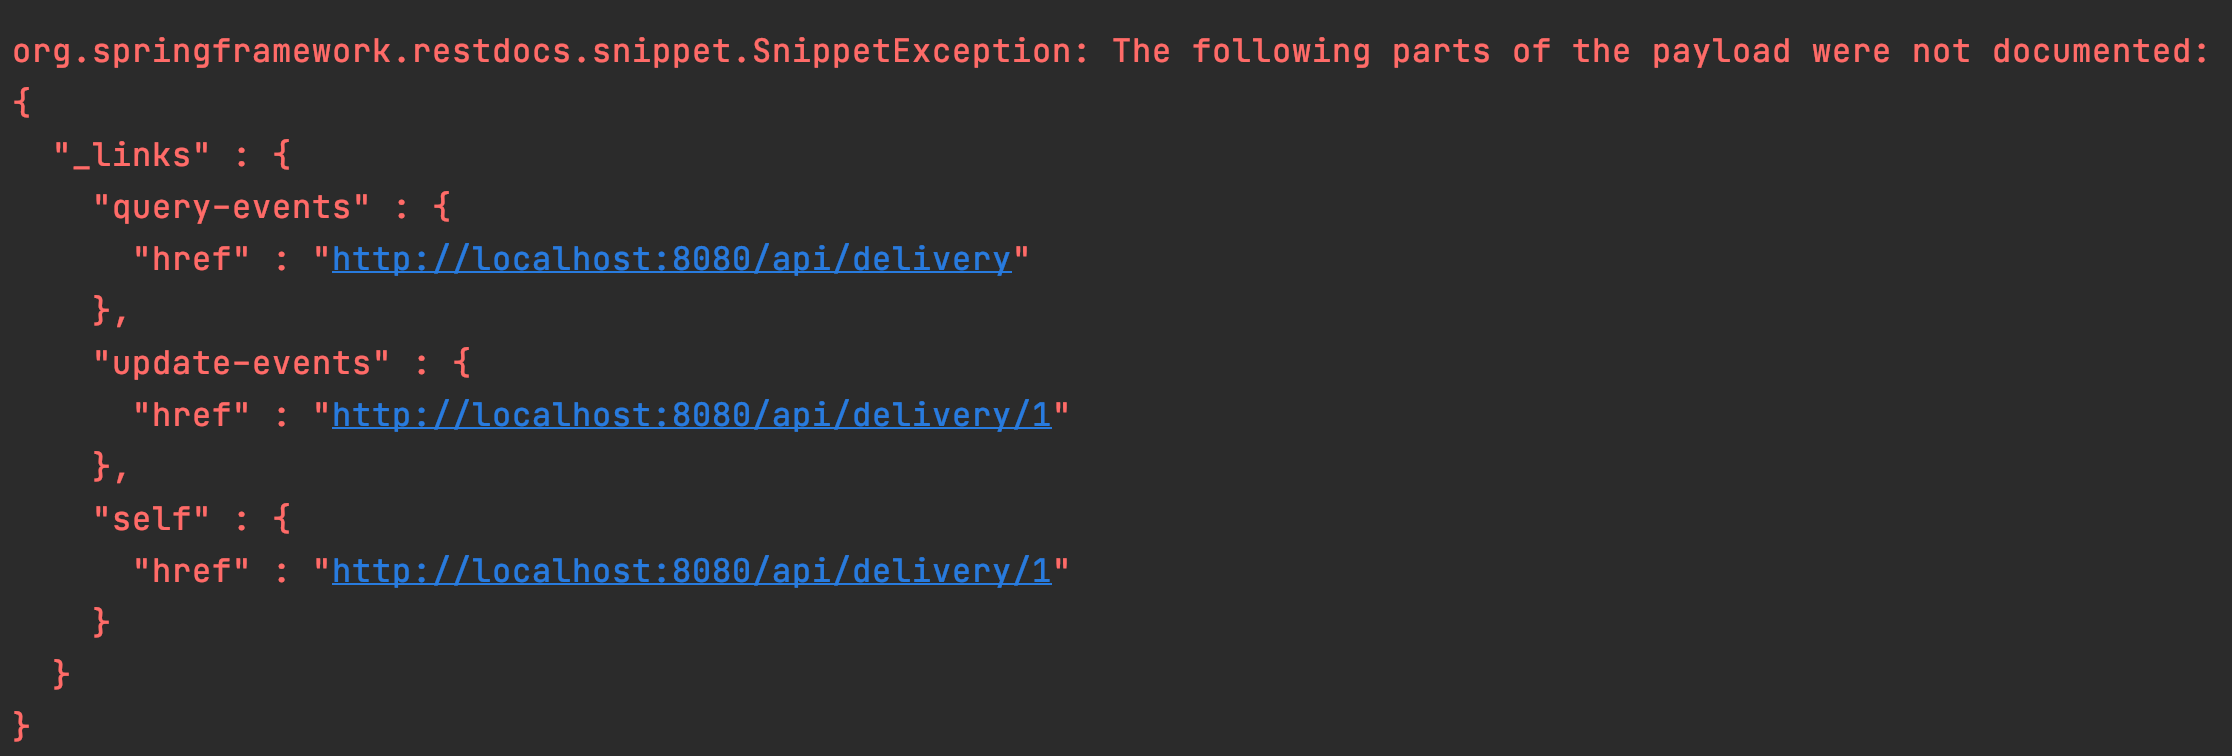
생각해보니 응답 코드에는 links가 추가되었다는 사실을 잊고 있었다.
이것을 해결하는 방법은 2가지를 소개하겠다.
relaxedResponseFields으로 수정한다.
이 방법을 하게되면 내가 입력한 부분만 문서로 만들어 준다.
하지만 내가 실수로 무언가를 빼먹고 실행한다면,
그래도 문서를 만들어준다. 위 사진에서 확인한것 처럼 없는 응답혹은 요청에는 존재하지만 문서로 만들지 않는 경우, 위 처럼 알려준다.
장점: 내가 입력한 것만 문서로 만들어준다.
단점: 실수를 방지해주지 않는다.
다음을 작성한다.
fieldWithPath("_links.*.*").description("link information")))이렇게 입력하면 문서로 만들어준다.
웬지 같은 계층으로 구성되었기 때문에 혹시... 되나 하는 마음으로 했는데 다행히 만들어졌다.
이렇게 만들어진 문서 조각들은
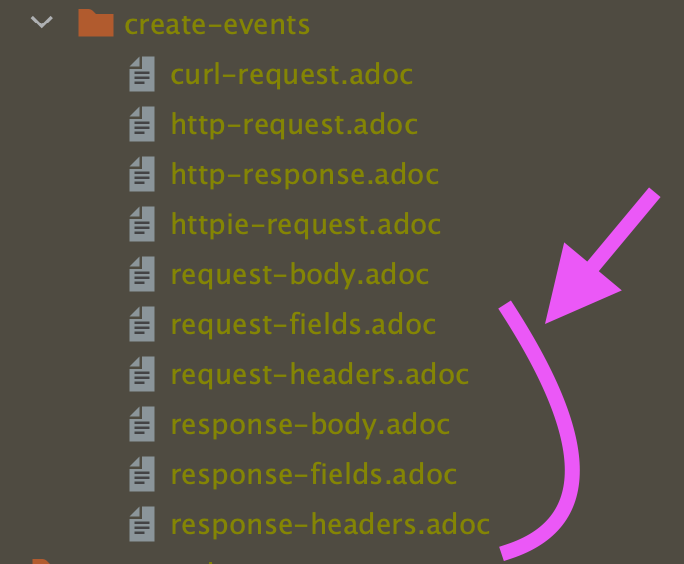
이런식으로 새롭게 추가되었다는 것을 알 수 있다.
'개발 > restAPI😢' 카테고리의 다른 글
| RestApi 만들기 - 이벤트 목록 조회 API구현 (9) (0) | 2021.03.06 |
|---|---|
| RestApi 만들기 - API인덱스 지점 만들기 (8) (0) | 2021.03.03 |
| RestApi 만들기 - spring-rest-docs (5) (0) | 2021.02.19 |
| RestApi 만들기 - HATEOAS (5) (0) | 2021.02.16 |
| RestApi 만들기 - badRequest (4) (0) | 2021.02.13 |