스프링과 bean
- SPRING START!
- 2021. 1. 7. 21:54

개요
스프링은 IOC (Injection Of Container) 를 이용해서 bean으로 관리하게 된다.
간단하게
@Service
public class Study {
}
라고 작성할 수 있습니다.
객체를 만들어 보자.
@SpringBootTest
class StudyTest {
@Autowired
private Study study;
@Test
void test() {
System.out.println(study);
}
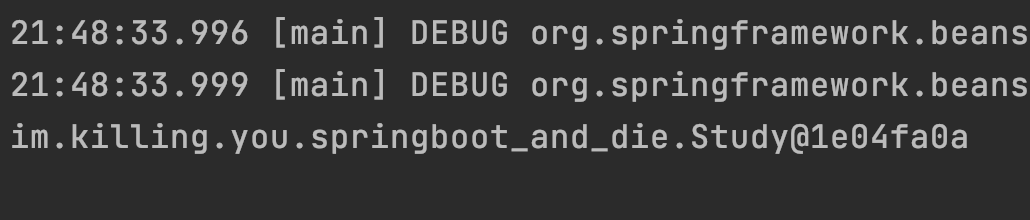
}놀랍게도
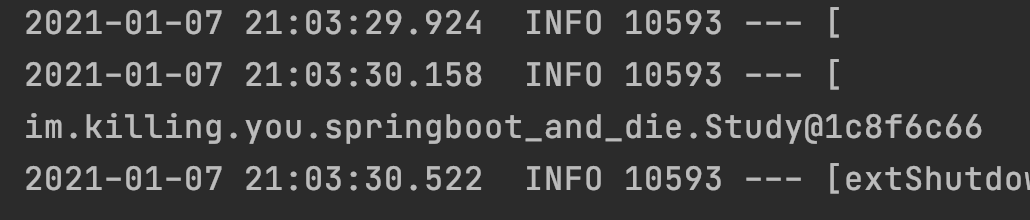
객체가 생성되었다는 것을 알 수 있다.
이것이 바로 스프링의 IOC기능이다.
참고로 static한 상태에서는 일반적인 방법으로 만들 수 없다.(일반적이지 않다는 이야기는 다른 방법이 있을 수 도 있지만, 내가 아는 선에서는 없다는 뜻이다.)
발단1
하지만 위와 같은 방법으로 IOC기능을 제공한 것은 아니다.
처음에는 XML을 통해 빈을 만들었다.
<?xml version="1.0" encoding="UTF-8"?>
<beans xmlns="http://www.springframework.org/schema/beans"
       xmlns:xsi="http://www.w3.org/2001/XMLSchema-instance"
       xsi:schemaLocation="http://www.springframework.org/schema/beans http://www.springframework.org/schema/beans/spring-beans.xsd">

    <bean id="study" class="im.killing.you.springboot_and_die.Study"/>

</beans>
이런식으로 만든 뒤,
public static void main(String[] args) {
    ApplicationContext ctx = new ClassPathXmlApplicationContext("application.xml");
    Study study = (Study) ctx.getBean("study");
    System.out.println(study);
}
발단2
하지만 이렇게 bean을 추가하기에는 굉장히 귀찮다. 그래서 등장한것이
<?xml version="1.0" encoding="UTF-8"?>
<beans xmlns="http://www.springframework.org/schema/beans"
       xmlns:xsi="http://www.w3.org/2001/XMLSchema-instance"
       xmlns:context="http://www.springframework.org/schema/context"
       xsi:schemaLocation="http://www.springframework.org/schema/beans http://www.springframework.org/schema/beans/spring-beans.xsd http://www.springframework.org/schema/context https://www.springframework.org/schema/context/spring-context.xsd">
    <context:component-scan base-package="im.killing.you.springboot_and_die"/>
</beans>
이런녀석이 나왔다.
이 녀석의 특징은 특정어노테이션이 보이면 빈으로 주입한다는 특징을 가지고 있다.
study를 @Service추가한 뒤
이것을 이제 실행보면
public class SpringbootAndDieApplication {
public static void main(String[] args) {
ApplicationContext ctx = new ClassPathXmlApplicationContext("application.xml");
Study study = (Study) ctx.getBean("study");
System.out.println(study);
}
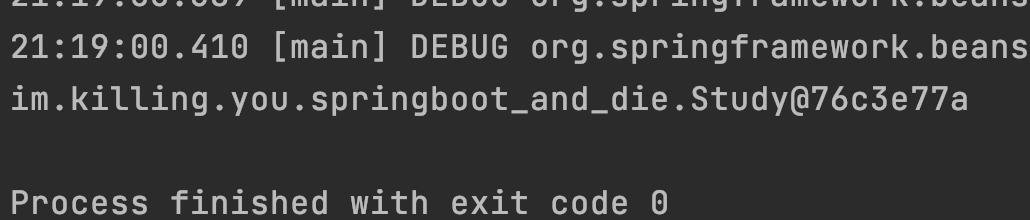
}
역시 객체가 나왔다.
전개
그러다 xml을 이용하는 방식이 아닌 어노테이션을 이용하는 방법이 만들어지게 되었다.
@Configuration
public class Configure {

    @Bean
    public Study study() {
        return new Study();
    }
}
public class SpringbootAndDieApplication {
public static void main(String[] args) {
ApplicationContext ctx = new AnnotationConfigApplicationContext(Configure.class);
Study study = (Study) ctx.getBean("study");
System.out.println(study);
}
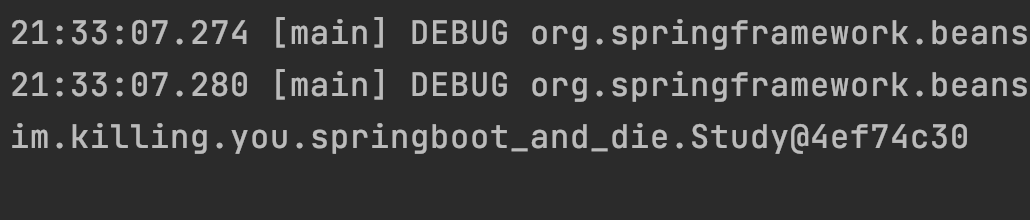
}
xml에서는 일일이 빈으로 등록하는 방법이 아닌,
문장 하나로 종결나는 것을 만들었는데,
어노테이션에서는 그런 기능이 존재하지 않았다.
그래서
절정
어노테이션에서도 빈으로 만들 수 있는 방법을 모색했다.
그 결과 다음처럼 만들 수 있게 되었다.
@ComponentScan(basePackages = "im.killing.you.springboot_and_die")
public class Configure {
}
위 방법 보다는
@ComponentScan(basePackageClasses = Configure.class)
public class Configure {
}
이 방법이 더 좋다고 한다.(왜냐하면 수정하기 쉽기 때문이다. 이를 타입세이프하다고 한다.)
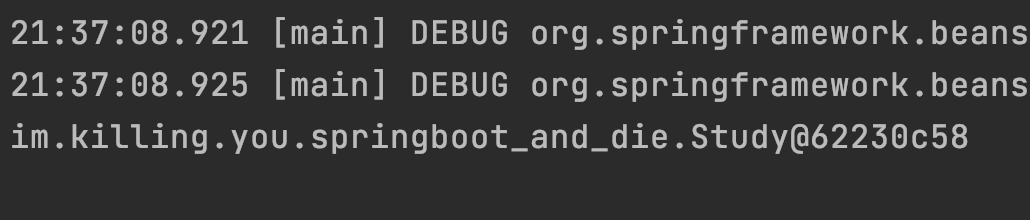
메인문은 수정하지 않았기 때문에 바로
이것이 발전해서
지금의 IOC컨테이너가 완성이 되었고,
결말
이제는 스프링 부트의
@SpringBootApplication으로 손쉽게 빈을 만들 수 있게 되었다.
이제 빈을 만들 때
@Component계열, @AutoWrite계열만 잘 사용하면 손쉽게 빈정의가 가능해졌다.
'SPRING START!' 카테고리의 다른 글
| AOP (0) | 2021.08.25 |
|---|---|
| DI 와 IOC (0) | 2021.08.14 |
| 이벤트 발생시키기!! (0) | 2021.01.12 |
| 스프링은 환경을 어떻게 조성할 수 있을까?(프로파일, 프로퍼티, 국제화) (0) | 2021.01.10 |
| 의존성 주입 (0) | 2021.01.08 |